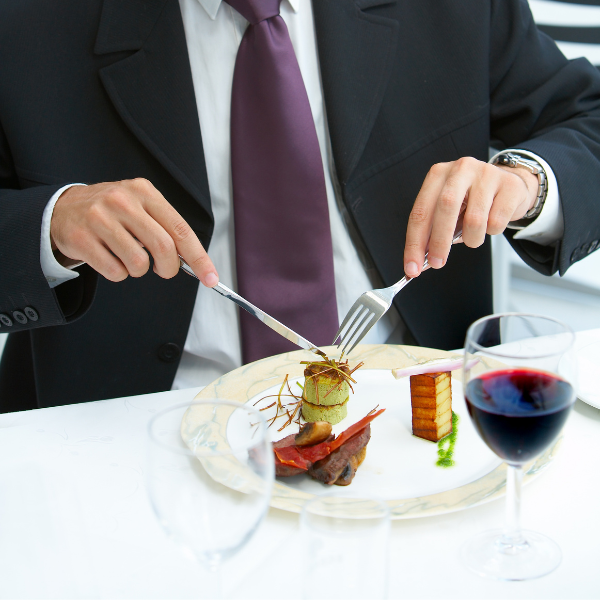
Many tend to overlook the fact that a table setting is more than just an arrangement of plates, cutlery, and glasses. A table setting not only serves as a place to hold meals, but it also sets customers’ expectations on the type of service and professionalism they will receive while dining. Not to mention, the design of your place settings plays a key role in the contribution to the tone and ambiance of your establishment. To help you make a great first impression, follow these instructions on setting tables for formal and casual dining.
Basic Table Setting Rules
These rules apply to both formal and casual dining and are the most basic when it comes to table settings. When preparing your tables, make sure to always implement these rules.
1. Only lay out the necessary flatware. For instance, if you are not serving soup, do not include a soup spoon.
2. Include coordinating flatware for certain courses at the time the course is served. For example, offer customers a steak knife when serving steak.
3. All flatware must be evenly spaced and arranged in the order it will be used, starting from the outside in.
4. Forks go on the left. Spoons and knives go on the right.
5. The bottoms of all flatware should line up together.
6. Fold all the napkins in the same style.
7. All glasses must be clean and spotless.
Formal Place Settings
Out of the two types of place settings, the formal place setting requires more items because restaurants or events can serve up to six courses or more. One of the most important aspects of this place setting is its symmetrical look. There should be an even amount of items on all sides of the plate, but exceptions can be made. This place setting is perfect for:
- Dine-in restaurants
- Corporate events
- Weddings
- Black tie events
How To Set A Formal Place Setting
1. Choose a tablecloth that matches your restaurant or event. Make sure it is clean and ironed before placing it over your dining table.
2. Similar to a tablecloth, ensure table mats are clean and free of any markings. Place them neatly on the table. They should lie straight and parallel to the edge of the table. Use the table mat to check if your guest has enough space to move around.
3. Place a charger plate at the center of the table mat. The charger plate is used to hold each serving plate for each course.
4. Place the first serving plate on top of the charger. This plate is changed with each course. For example, a salad plate will be used as a serving plate for the salad course.
5. Place the napkin on top of the first service plate. You can choose to either fold the napkin or roll it inside of a napkin ring.
6. On the upper left corner, place the bread plate and bread knife on top of the bread plate. The edge of the bread knife must face down, in other words, it must face the edge of the table.
7. On the left side of the serving plate, place a salad or fish fork on the outside. Then place a dinner fork on the inside.
8. On the right side of the serving plate, place a soup spoon on the outside followed by a salad knife and dinner knife on the inside. The dinner knife should be on the immediate right of the serving plate. Keep in mind that the knives should match the order of their fork counterparts to the left. Ensure the edges of knives are facing the plate.
- If tea is being served, place the teaspoon on the outside of the soup spoon.
- If oysters are being served, place the oyster fork on the outside of the soup spoon.
9. Above the serving plate, horizontally place the dessert fork with the handle pointing towards the right. Above the dessert fork, arrange the dessert spoon with the handle pointing towards the left. Remember, placing dessert utensils is optional. Some restaurants prefer to lay out dessert cutlery only if dessert is going to be served or the customer happens to order dessert.
10. Above the dinner knife, place the water glass. On the bottom right of the water glass, place the white wine glass. On the bottom right of the white wine glass, place the red wine glass. Together, all of the glasses should form a diagonal line.
11. If serving tea, place the teacup and saucer above the soup spoon.
Casual Place Settings
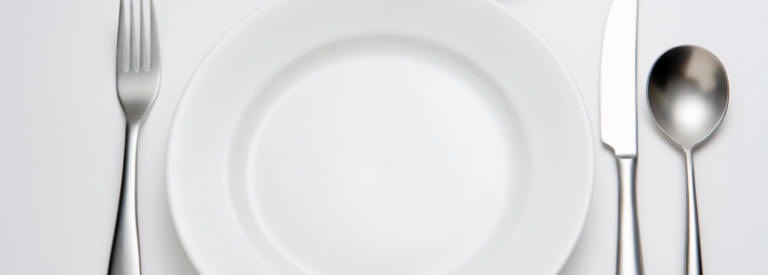
Because casual place settings typically serve three courses instead of six, you won’t need to use as many items when putting together each setting. You will have enough materials for serving a soup/salad, main meal, and dessert. You can also choose to serve with disposable plates, flatware, cups, and paper napkins. Commonly referred to as an informal table setting, you will typically see this type of setting at:
- Family restaurants
- Diners
- Casual weddings
- Dinner parties
- Cafes
How To Set A Casual Place Setting
1. You can use a charger if you’d like but they are optional in a casual place setting. If you choose to do so, place it in the middle of the place setting.
2. If using a charger, place the serving plate on top of the charger. If not, simply place the serving plate in the middle of the place setting. This plate is changed with each course. For example, a salad plate will be used as a serving plate for the salad course.
3. Place the napkin on top of the first service plate. You can choose to either fold the napkin or roll it inside of a napkin ring. For a casual setting, you can also place the napkin on the left of the service plate, underneath the forks.
4. On the upper left corner, place the bread plate and bread knife on top of the bread plate. The edge of the bread knife must face down, in other words, it must face the edge of the table.
5. On the left side of the serving plate, place a salad or fish fork on the outside. Then place a dinner fork on the inside.
6. On the right side of the serving plate, place a soup spoon on the outside followed by a dinner knife on the inside. The dinner knife should be on the immediate right of the serving plate. Ensure the edge of the knife is facing the plate.
- If tea is being served, place the teaspoon on the outside of the soup spoon.
- If oysters are being served, place the oyster fork on the outside of the soup spoon.
7. Above the dinner knife, place a water glass, coffee, or teacup, but these are not required.
8. Above the serving plate, horizontally place the dessert fork with the handle pointing towards the right. Above the dessert fork, arrange the dessert spoon with the handle pointing towards the left. Remember, placing dessert utensils is optional. Some restaurants prefer to lay out dessert cutlery only if dessert is going to be served or the customer happens to order dessert.
9. On the upper right corner, place a wine glass or regular drinking glass. If using a water glass, place the wine or drinking glass to the right of the water glass.
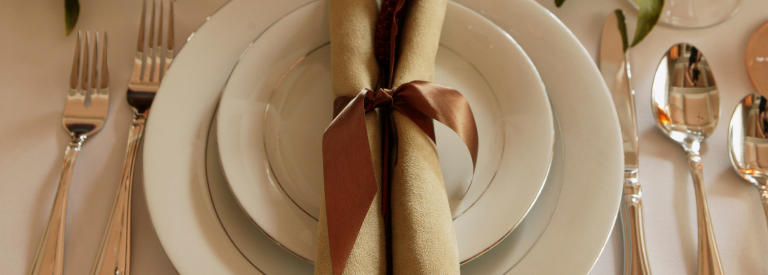
 Tradition vs Creativity
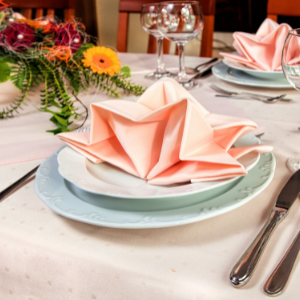
While many restaurants choose to strictly follow the traditional way place settings are arranged, more and more establishments are now getting unique with their place settings. For example, many restaurants use their creative license with the placement of napkins. They fold napkins in a special way to impress customers and add an element of fun to their settings.
Being creative is a great way to improve your place settings and elevate your customer’s dining experience. However, if you choose to mix things up, remember to stick to the theme or style of your restaurant or event. When it comes to putting together a perfect place setting, organization, cohesiveness, and neatness will always give you the right look.